|
|
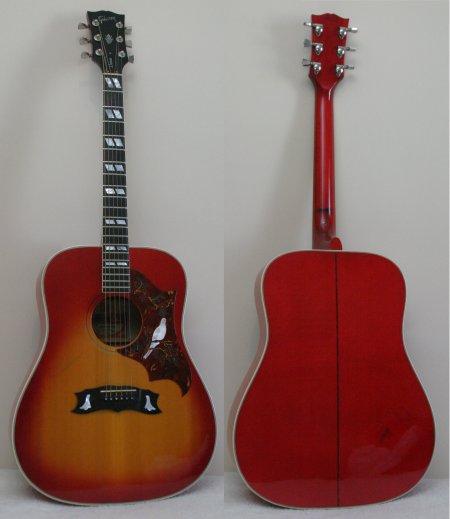
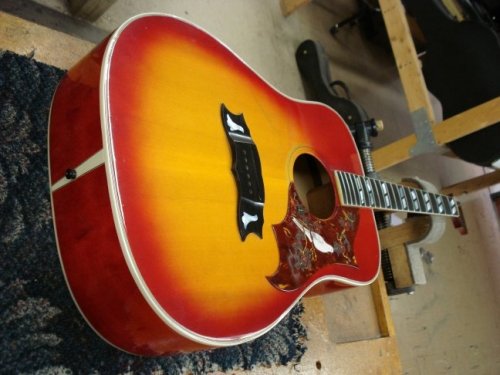
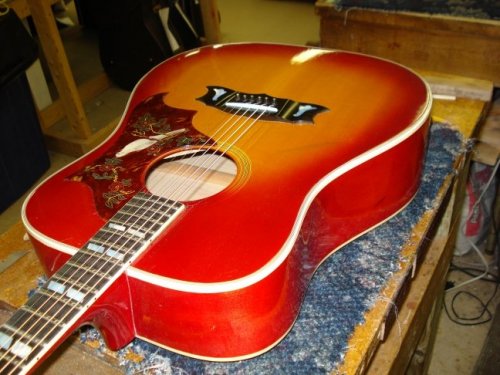
1974 Gibson Dove Custom Repair
I bought this guitar in 2004 on eBay from Boger City Pawn in North
Carolina primarily because it was identical to the one
Elvis used onstage in 1976
and it was an opportunity to photograph it for the page about it
here on the site. They
misrepresented it in the ad by not stating that it was a factory second
and the guitar was in need of a neck reset. Aside from that it has
an unbelievably awesome sound and despite the high action it played
excellent. However, after two years with it I decided that it had to be
right so packed it up and shipped it to Elderly Instruments for a neck
reset. The bridge was also splitting and would require the manufacture
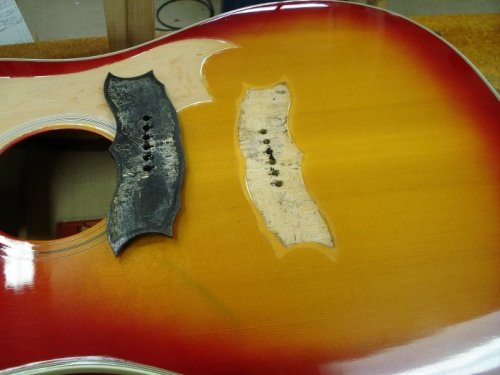
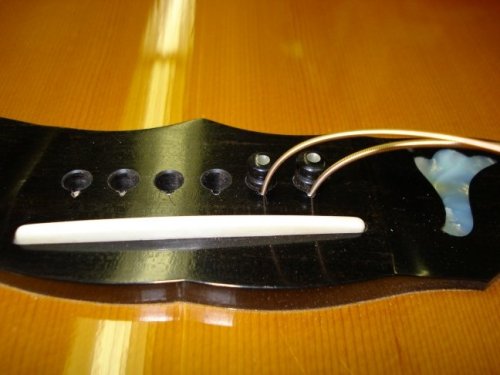
of a new one at the same time. "Ideally you want the new bridge to fit the same footprint on the guitar's face as the old, so as not to have to mess with the finish on the face. The strange thing is that the bridge has the normally needed slant in saddle position (adjusting the amount of compensation from treble to bass) built into it, but it has been located such that the saddle is perpendicular to the strings, i.e. there is no compensation at all, treble or bass. Retaining the bridge position and adding the needed compensation will result in a slightly exaggerated appearance, though I don't believe it will be enough so to be noticeable to someone who is not looking critically at it. The bridge pins will have to move back about 1/8" from their present location and the holes in the face will have to be filled and re-drilled also) and the saddle position moved back just over 1/16" on the treble end and 5/32" on the bass end." James V. Roy Arnold's Notes:
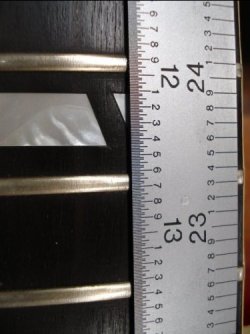
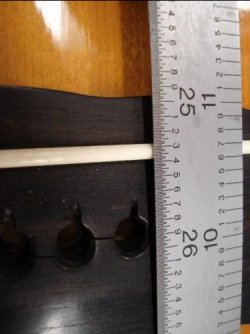
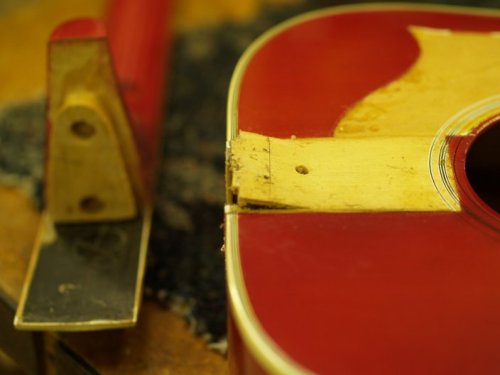
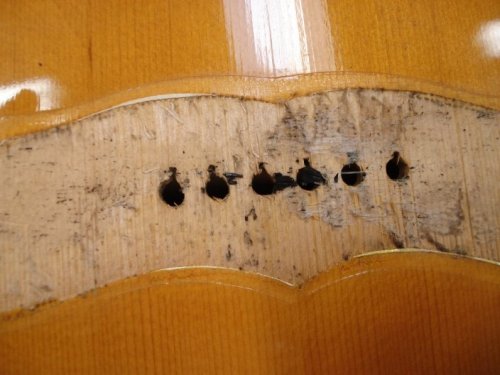
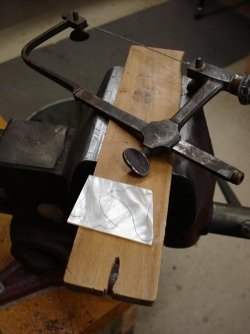
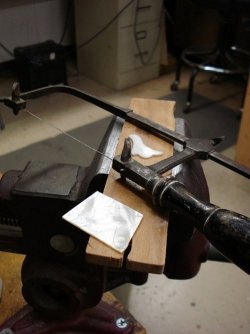
Pictures 1 and 2 show the problem with the scale
length. Distance nut to bridge should be twice the distance nut to 12th
fret plus approximately .01". At 2*12.67=25.34, somebody forgot to add
the tenth inch compensation for stretch. They also set the bridge saddle
perpendicular to the strings. Steel-stringed guitars need a slanted
saddle because the amount of sharpness from stretching increases with
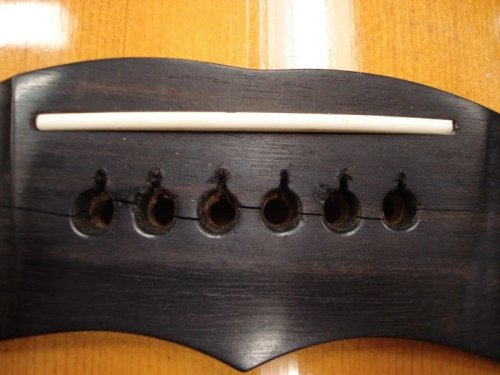
the diameter of the string. The holes in the face needed to be plugged
and the new bridge made with the necessary
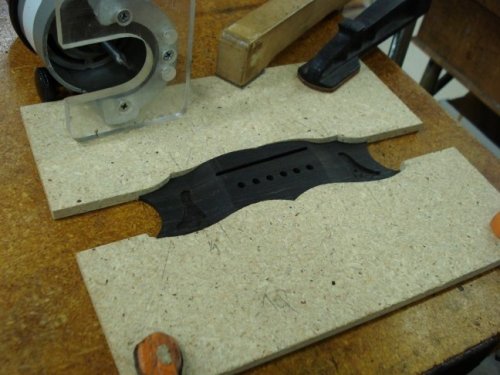
Picture 4 shows the method used for masking gluing areas when
finishing the guitar. The same method was used for the bridge. A masking
piece was put in place, the guitar finished smooth, over the mask, then
someone had to cut through the finish and lift out the mask. A lip of
finish was allowed under the edges of both pickguard and bridge, so as
to reduce the potential for errors to be visible. There are two problems
here:
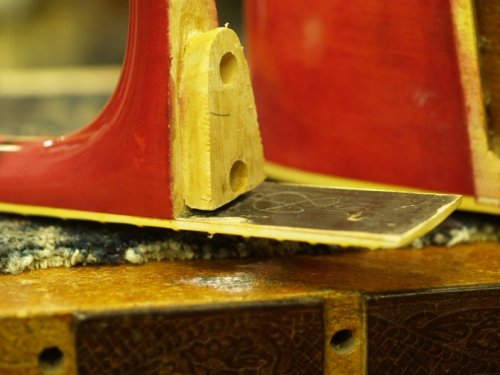
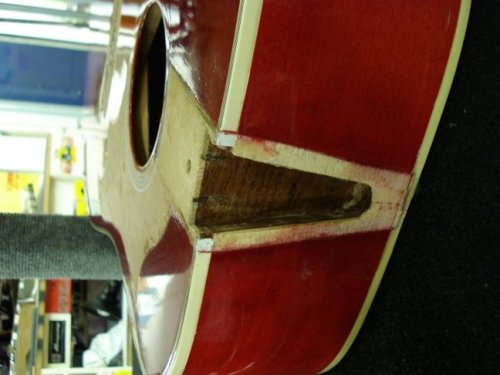
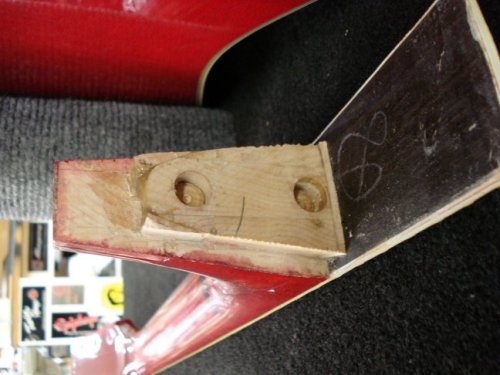
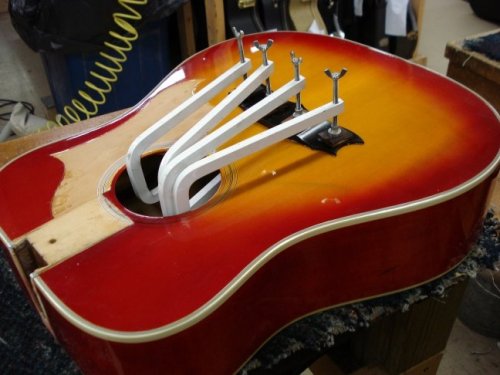
Pictures 5 and 5a show that this guitar was made during the period
when Gibson first fitted the neck and then put the top on over the joint
before adding the fingerboard, making the joints very difficult to get
apart for repair.
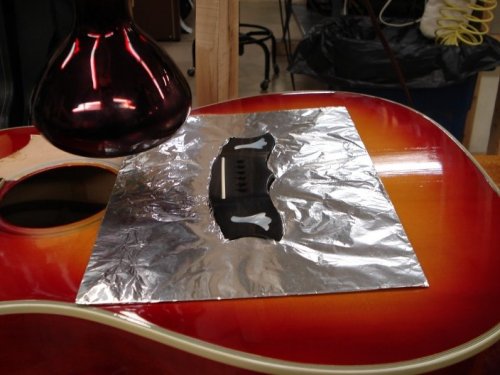
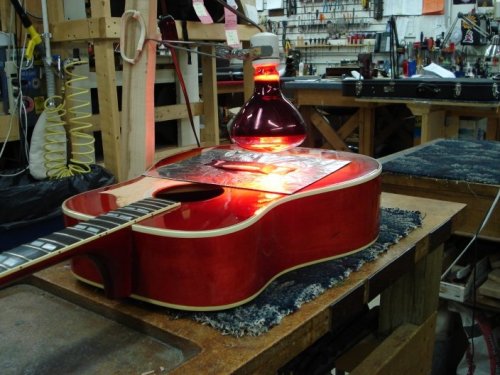
Pictures 6 and 7 show the method for removing the bridge. An aluminum foil protects the face while the bridge is heated to soften the glue.
In picture 9 you can clearly see the print of the bridge outline over the finish.
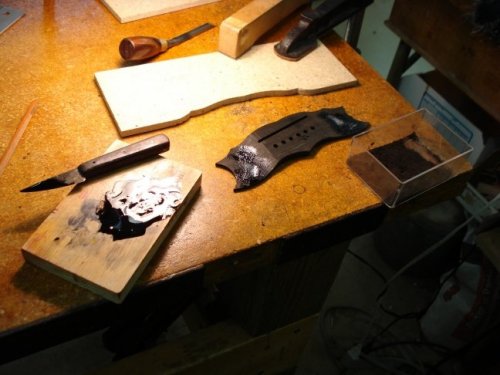
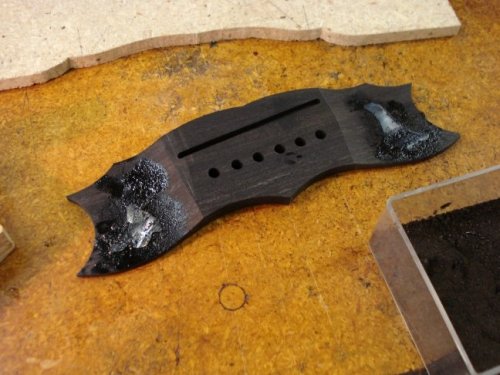
Pictures 12 through 17 show the making of the new bridge. The spaces for the inlays were hand fitted after the initial routing, so there was very little gap, and some ebony dust mixed into the epoxy used to glue the inlays into place so as to make the joint invisible.
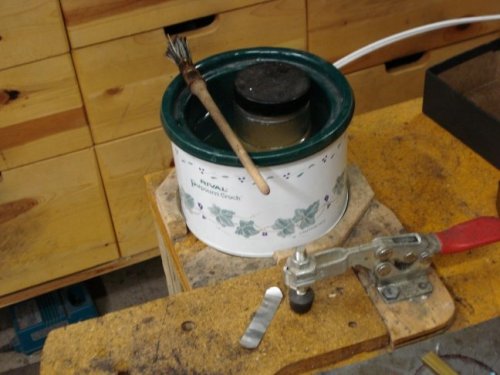
I use traditional hide glue for most of my wood joints, and picture 18 shows the simple pot used to keep it at the ready.
In picture 21 you can see that I have fitted the bridge pin holes so that the pins fit snugly but all the way seated. I believe that the tendency of manufacturers to leave the pins sitting high leaves guitar owners with the temptation to cram them into the holes as tightly as possible, which in turn leads to cracked bridges. In reality it is not necessary for the pins to be tight, or even snug. The ball end of the string, when the string is pulled to tension, rests against the side of the pin and is sufficient to prevent it's falling out of the hole. Of course, the ball end must rest against the side of the pin and not the end of it, for in the latter case the string is capable of shooting the pin across a room.
Arnold M. J. Hennig
Elderly
Instruments Repair Shop |
|
All photos on this page unless otherwise indicated are the property of the designated persons or company, any unauthorized use or reproduction is prohibited. |